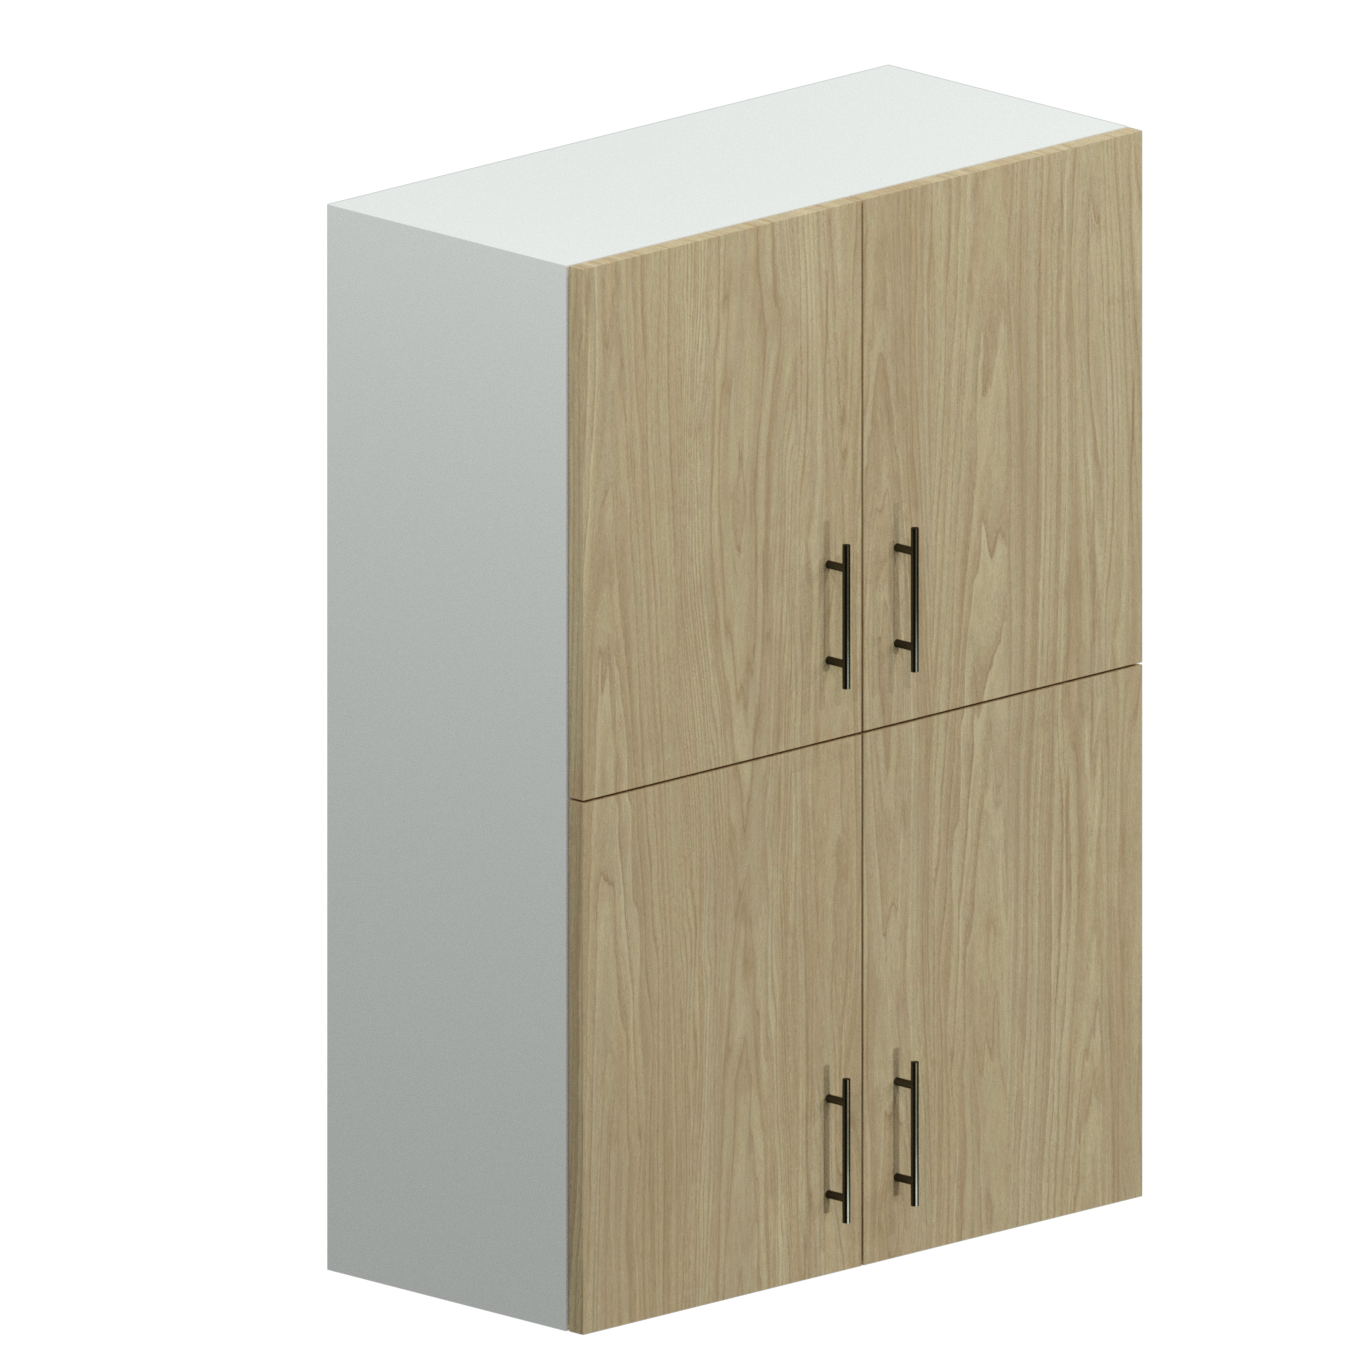
2 Double Door Upper

Upper Width

This is the overall, outside width of the cabinet box.

(400 - 1100)

Upper Height

This is the overall height of the cabinet box.

(500 - 1550)

Upper Depth

This is the depth of the cabinet carcass, not including any doors.

(150 - 700)

Left Panel

Panels are used to cover the exposed sides of cabinet boxes, ensuring they match the color of the cabinet doors.

Adding a left panel inside this product will automatically adjust the “Left Reveal” to 3mm for proper spacing.

The panel size will be the overall height of the cabinet, and the depth of the cabinet plus the thickness of the door/drawer front, and the small gap, so it will be flush on the front.

(Disregard the door/drawer configuration and cabinet type shown in the image below, your product may be different, but the panels work the same as described here)

If you require a special sized panel that differs from this size, you can use the Panel product on the Accessories page.

Just remember to adjust your door reveals accordingly.

Right Panel


Panels are used to cover the exposed sides of cabinet boxes, ensuring they match the color of the cabinet doors.

Adding a Right panel inside this product will automatically adjust the “Right Reveal” to 3mm for proper spacing.

The panel size will be the overall height of the cabinet, and the depth of the cabinet plus the thickness of the door/drawer front so it will be flush on the front.

(Disregard the door/drawer configuration and cabinet type shown in the image below, your product may be different, but the panels work the same as described here)

If you require a special sized panel that differs from this size, you can use the Panel product on the Accessories page.

Just remember to adjust your door reveals accordingly.

Vertical Sections Adjustable Shelves

When a cabinet has stacked sections (sections on top of each other, not beside each other), these images shows you which section is which.

Enter the quantity of adjustable shelves you would like in the corresponding section.

(0 - 5)

Vertical Sections Adjustable Shelves

When a cabinet has stacked sections (sections on top of each other, not beside each other), these images shows you which section is which.

Enter the quantity of adjustable shelves you would like in the corresponding section.

(0 - 5)

Left Reveal

This is the amount of gap there is from the left side of the carcass to the the edge of the door/drawer front.

Typically this is 1.5mm, so that when you put two cabinets beside each other, the gaps from both cabinets add up to 3mm, which is standard clearance.

If you are putting a flush filler or panel on the left side of this cabinet, you should change it to 3mm, to maintain proper clearance.

(0 - 11)

Right Reveal

This is the amount of gap there is from the right side of the carcass to the the edge of the door/drawer front.

Typically this is 1.5mm, so that when you put two cabinets beside each other, the gaps from both cabinets add up to 3mm, which is standard clearance.

If you are putting a flush filler or panel on the right side of this cabinet, you should change it to 3mm, to maintain proper clearance.

(0 - 11)

Remove Bottom

Removing the bottom of a cabinet will ensure that the bottom of the gables and the back will have edge banding on them.

This feature is often used to place cabinets on top of counter tops, so there is no step-up into the cabinet.

If your cabinet has a door, make sure you leave an adequate Bottom Reveal, so that it won’t rub on your counter top. Recommend 6mm minimum bottom reveal for an application like this.

Top Reveal

This is the amount of gap that there is from the top of the carcass to the edge of the door or drawer face.

On base cabients, top gaps are usually 6mm so there is clearance for the countertop.

On upper and tall cabinets, top gaps are typically 0mm (flush with top), unless you are putting a flush filler piece or panel above the cabinet, in which case you should change it to 3mm.

If you are stacking cabinets, you want to make sure you have a 3mm gap from one cabinet’s doors, to the others. General recommendation is splitting the gap on each cabinet. This would mean a 1.5mm Bottom Reveal on the top cabinet, and a 1.5mm Top Reveal, on the bottom cabinet. This will ensure proper door gaps.

(0 - 25)

Bottom Reveal

This is the amount of gap that there is from the bottom of the carcass to the edge of the door or drawer face.

Bottom gaps are typically 0mm (flush with bottom), unless you are putting a flush valance piece or panel under the cabinet, in which case you should change it to 3mm.

If you are stacking cabinets, you want to make sure you have a 3mm gap from one cabinet’s doors, to the others. General recommendation is splitting the gap on each cabinet. This would mean a 1.5mm Bottom Reveal on the top cabinet, and a 1.5mm Top Reveal, on the bottom cabinet. This will ensure proper door gaps.

(0 - 25)
(2 - 350)

Select Adjustable Height

In a 2 Section cabinet, this allows you to choose either section to modify to a custom height, and the other section will adjust automatically to fill the rest of the space.

In a 3 Section cabinet, this allows you to adjust any 1, or any 2 section heights, and the remaining section(s) will adjust automatically to fill the rest of the space.

Top Section Height

This is the distance from the outside of the cabinet top, to the center of the closest divider below.

In this image, it is 600mm.

(Disregard the image’s door/drawer layout, the product you are in may differ from image shown)

This opening size is smaller than this measurement by 28.5mm (1 1/8″). This is because this Section includes the thickness of the Top (19mm), and half of the first divider (9.5mm).

Bottom Section Height

This is the distance from the outside of the cabinet floor, to the center of the closest divider above.

In this image, it is 1432mm.

(Disregard the image’s door/drawer layout, the product you are in may differ from image shown)

This opening size is smaller than this measurement by 28.5mm (1 1/8″). This is because this Section includes the thickness of the bottom (19mm), and half of the closest divider (9.5mm).

Personalized Labels

Putting a name or number in this spot will help you organize your cabinets and products in a way that makes sense for you and your project.

This text will come through on the product sticker that gets put on the back of every cabinet that is produced in our shop, and will save you time from trying to figure out which cabinets are which.

Here are some examples of the product label, with the personalized label in use. Try to limit your personalized label to a few words, or the last bit of text may get cut off of the label if it is too long.

$331.46

Quantity

Unit conversion

Input length in inches for its value in millimeters.
Inches:
/
Inches:
Millimeters:
To convert from inches (in) to millimeters (mm), simply use the following formula:
millimeters = inches × 25.4

This is because one inch is equivalent to 25.4 millimeters. Therefore, by multiplying the number of inches by 25.4, you can determine its corresponding length in millimeters.
Category: